Camera Settings for Studio Photography: It Really Is That Simple


If you’re new to studio photography, this guide is here to help you walk in with confidence.
The good news is, it’s usually a lot simpler than people think.
What we see all the time is this: beginners either think shooting in a studio is really complicated, or they think it sounds boring. Neither one is true.
A studio is one of the best places to learn because it forces you to slow down, be intentional, and actually create something instead of just reacting to what the location gives you. If you're just getting started, our beginner's guide to studio photography is worth reading before you dial in your settings.
Quick takeaway: Studio photography is not harder than outdoor photography. It’s just more intentional.
A studio is different and that’s the whole point
One of the biggest mistakes first-time renters make is thinking about studio photography the same way they think about shooting outside.
It’s not the same.
Outside, the environment is doing a lot of the work for you. You have natural light, scenery, texture, color, and random little moments happening around you. In the studio, you start with less. That can feel intimidating at first, but that’s also what makes it so good.
A professor once told our class, “the studio demands your creativity.” That stuck with me more than just about anything else I learned in school. A studio is basically nothing until you decide to make something with it. That’s what makes it fun.
So if you’ve ever felt like a studio seems too plain, too technical, or too controlled, that’s probably exactly why it’s worth learning.
The studio demands your creativity. That's what makes it so special.
The easiest way to get a good photo faster: keep it simple
This is probably the biggest thing I would tell anyone shooting in a studio for the first time:
Start simple.
Not kind of simple. Actually simple. Use:
- one subject
- one background color
- one light
- one clear idea
That's it.
A lot of people struggle because they try to build too much too fast. They want the final result before they’ve even taken the first test shot. In reality, some of the best studio photos happen when you stop trying to make it complicated and just focus on making one setup look good.
When I walk into a studio, I start with one light almost every time. I might set other lights nearby or get modifiers ready, but I’m usually only turning on the key light first. Then I build from there. I don’t jump straight into a full setup unless I already know exactly what I’m trying to do.
If your setup feels messy, confusing, or like too much is happening, strip it back to one light and one subject. You’ll learn faster that way.
If your light is bad, your settings probably are not the real problem
This is where a lot of people get tripped up.
They think the problem is shutter speed, aperture, ISO, or some camera setting they missed. And sometimes, sure, that’s part of it. But a lot of the time the real issue is the setup itself.
- The light is in the wrong place.
- The subject is too close to the backdrop.
- There’s too much light hitting everything.
- Or they changed six things at once and now have no clue what actually helped.
That’s why I always tell people to fix the setup before they panic about the settings.
And once you get to that point, that’s where our camera settings for studio photography guide becomes the perfect next read. That post goes deeper into the technical side once the shot itself is headed in the right direction.
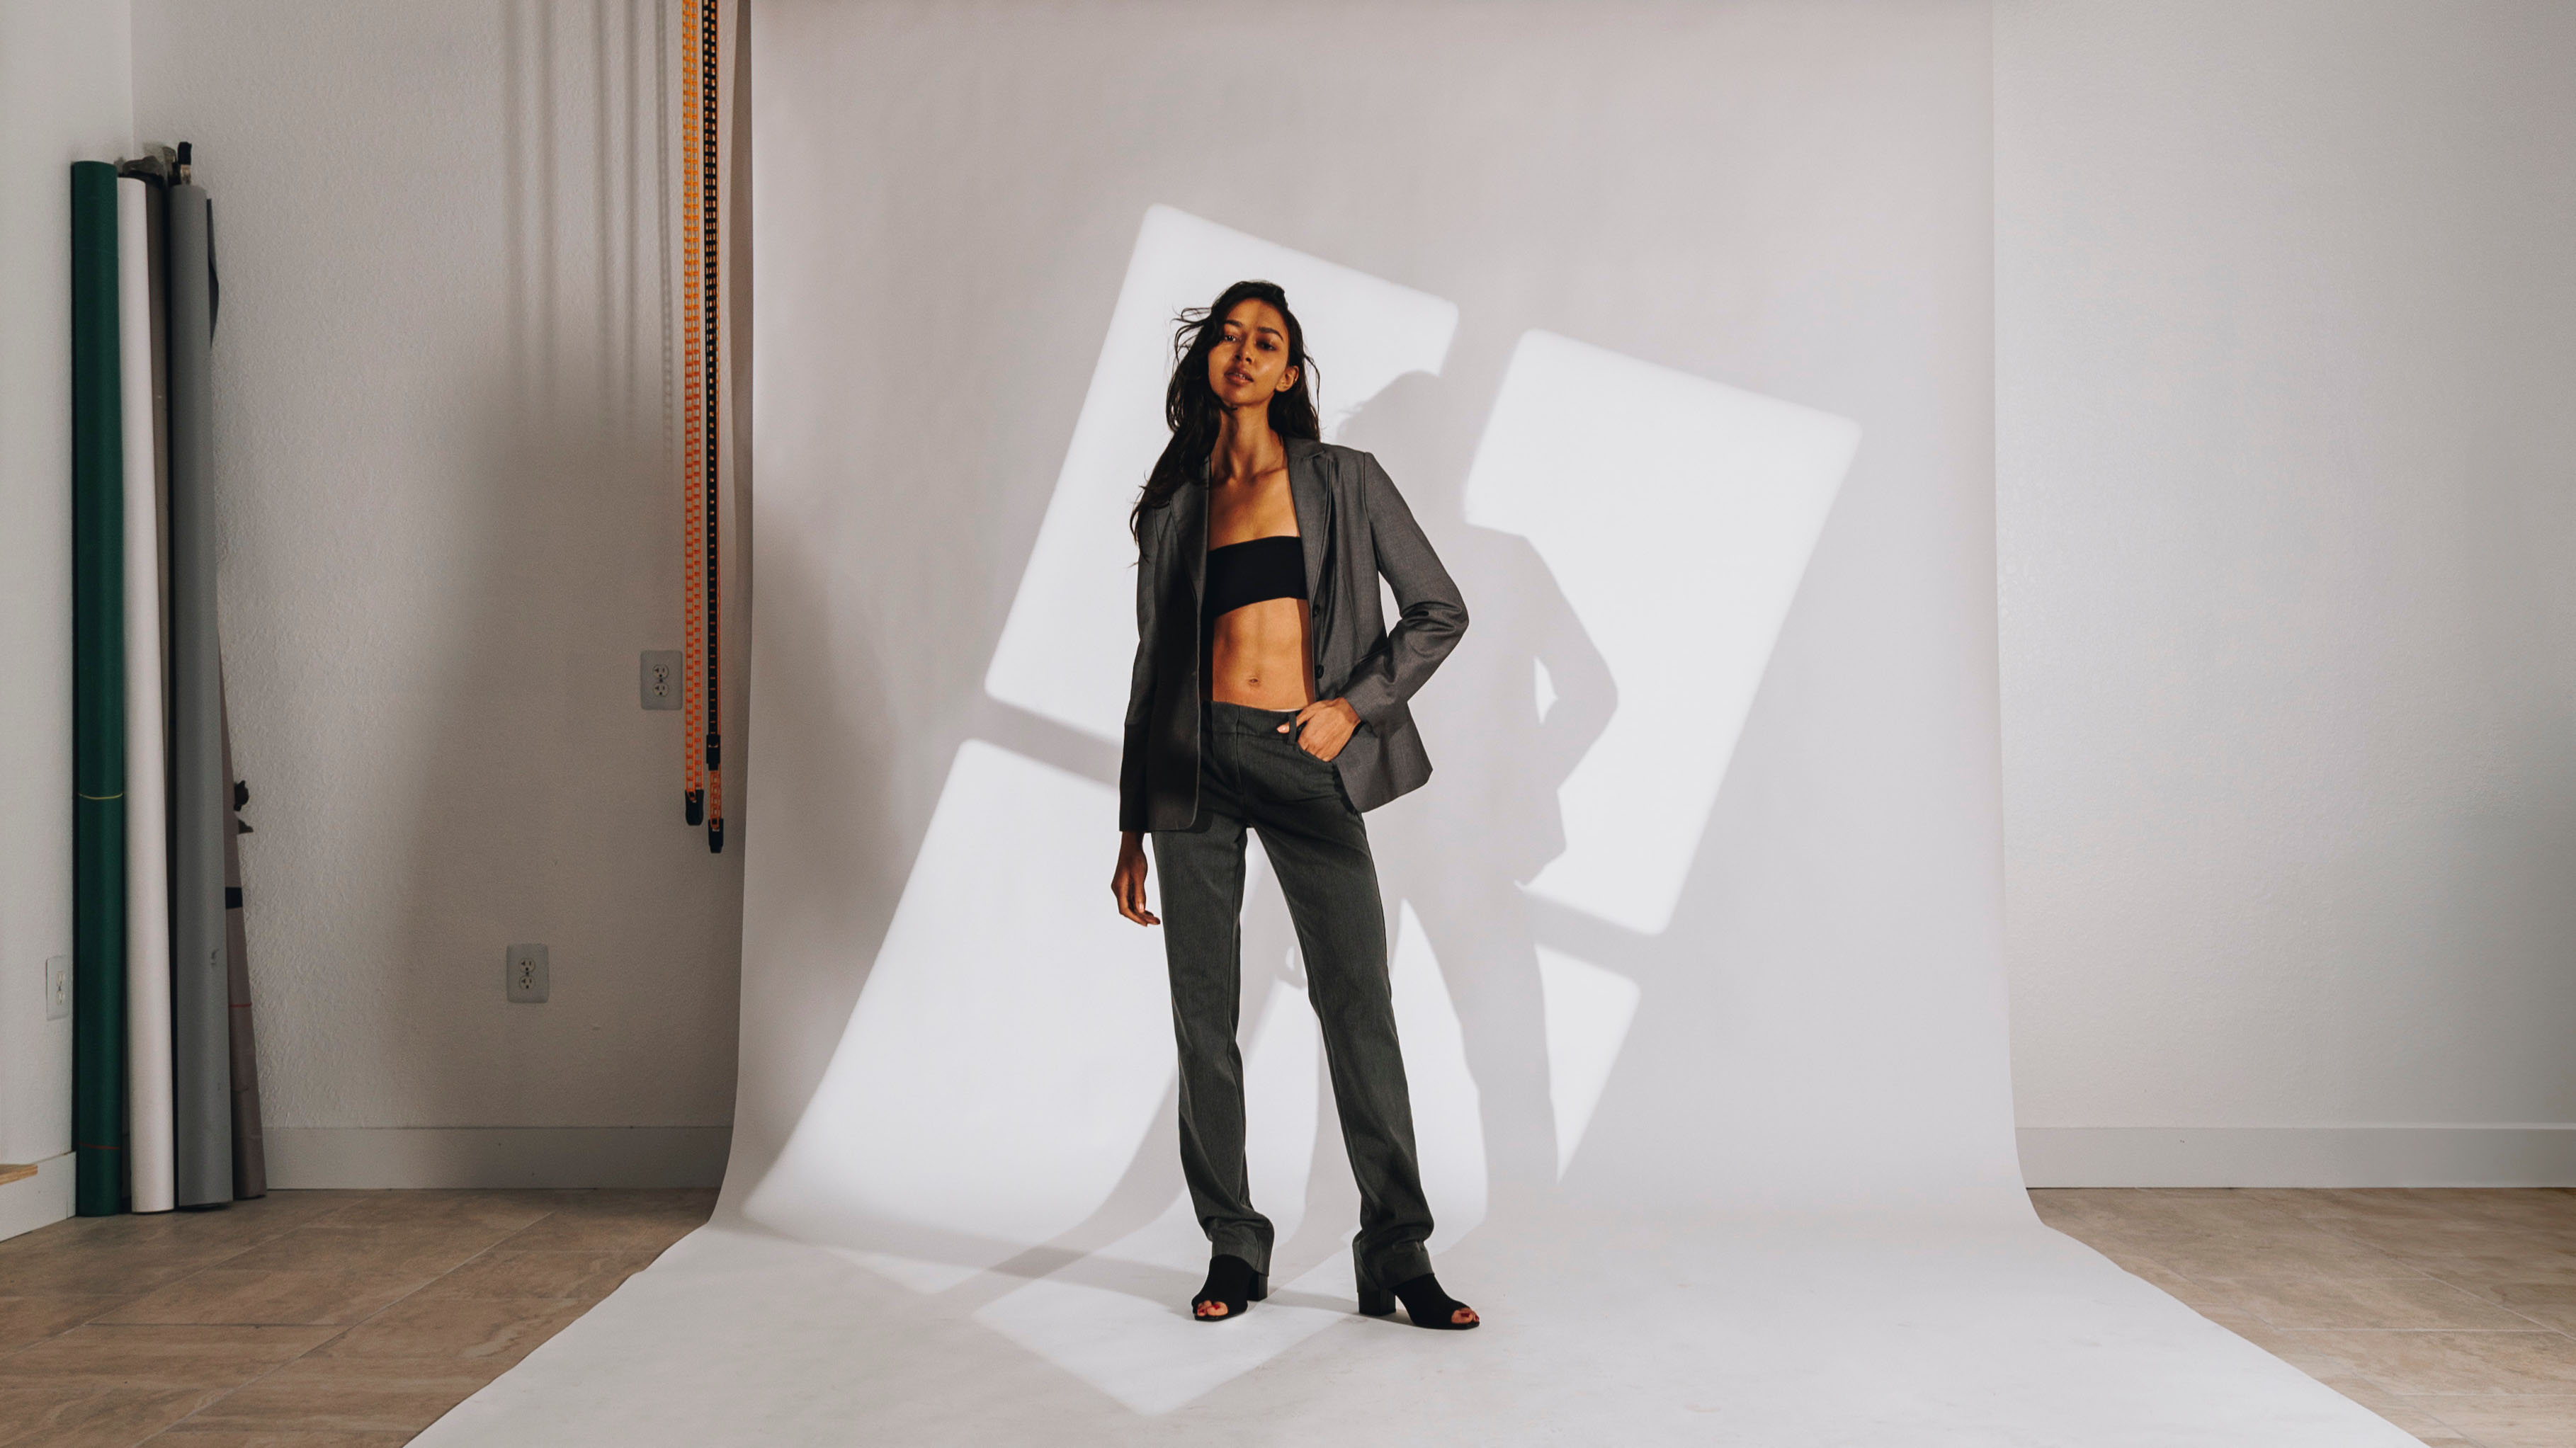
Put your subject farther from the background than you think
If I had to pick one mistake that ruins photos in the studio even when everything else is mostly fine, this is probably it.
People put the subject way too close to the background.
That flattens the image fast.
When your subject is jammed right up against the seamless paper, you lose separation, depth, and a lot of the shape that makes studio photos feel clean and polished. It also makes background shadows harder to control.
Distance is your friend.
For a single subject, somewhere around 5 to 7 feet from the background is usually a really solid place to start. Not because that number is some magic rule, but because it tends to give you enough room to create depth without making the setup awkward.
A lot of beginners don’t realize how much this one small change can improve their photos.
Before you touch your camera settings, ask your subject to take a step or two towards you and take another test shot.
Think about how to replicate the shapes the sun naturally creates
A much better way to think about studio lighting is to compare it to what you already know from shooting outside.
Think about the sun.
When does natural light usually look best? Not when it’s hitting someone in the flattest way possible. Usually the most flattering light has some direction to it. That’s why a light placed more around a 45-degree angle from your subject is such a strong place to start in the studio. It gives the face shape. It gives the image dimension. It just feels better.
It doesn’t mean every setup has to be 45 degrees forever. It just means it’s a strong starting point if you’re learning.
One of the most common things we see in studio rentals is someone placing two lights in front of the subject, one on the right and one on the left, and just blasting light straight at them. That usually creates a flatter look, awkward double shadows, or lighting that feels harsh for no real reason.
Please, just do me a favor and avoid placing two lights in front of the subject on either side of where you shoot from.
Patience is the key to a successful first studio shoot
The photographers who get good results quickly usually are not the ones pretending they know exactly what they’re doing.
They’re the ones who are patient enough to work through it.
That sounds overly simple, but it’s true.
Some people get frustrated fast. Some say they’ll fix it in post. Some are more worried about looking unsure in front of their client than they are about actually making the photo better. But the truth is, everybody is figuring it out. That’s part of the process.
Move the light. Try something. Take another frame. Be honest if you’re working through it.
That’s not a weakness. That’s literally how you learn to shoot in a studio.
And honestly, you never know what you’ll find when you start adjusting and experimenting a little.
Patience beats pretending. Every time.
You do not need a crazy camera or a ton of gear
This is another thing people love to overthink before they even begin.
Gear matters, sure. But not as much as people think.
A studio can make a “bad” camera look really good if the light is good. That’s one of the best things about shooting in a controlled space. Good lighting does a lot of heavy lifting.
So if you’re new and don’t own much gear yet, that’s fine.
Call the studio. Ask what they have. Ask what the lights do. Ask what modifiers are available. Ask what would make sense for the kind of shoot you’re trying to pull off. That’s a way better move than sitting at home convincing yourself you need thousands of dollars of equipment before you can start.
A simple studio workflow for beginners
If you want something practical to follow, use this:
- Pick your background.
- Place your subject with some space off the backdrop.
- Start with one light.
- Take a test shot.
- Adjust the light before adjusting everything else.
- Check how the shadows look.
- Make your subject comfortable.
- Add more only if the shot actually needs it.
That’s really it.
When you’re starting out, keeping it simple is usually better than trying to prove how creative or technical you are. Honestly, some of the best photos come from one light, a comfortable subject, good direction, and a photographer who knows how to create a vibe.
Play music. Keep the room relaxed. Make the person in front of your camera feel good. Your job is to make the subject look good, and that goes way beyond camera settings.
Take a deep breath, it is not scary
If you’ve never shot in a studio before, I think this matters to say plainly:
It is not scary.
It can feel intimidating at first, absolutely. But once you understand a few basics like: light angle, subject distance, and how to keep your setup simple, then, it starts to click really fast.
And if you’re walking into BLNK for the first time, that’s exactly what we want people to feel. Comfortable. Welcome. Not judged. We shoot in the studio all the time, and we know how weird it can feel when you’re starting out. That’s a big part of why we built this place the way we did.
Final thoughts
If you want to learn how to take pictures in the studio, don’t start by trying to master everything.
Start by making one good image.
One light.
One subject.
One clean setup.
Then build from there.
And when you’re ready to dial in the technical side, read our guide on camera settings for studio photography to get your baseline settings locked in before your next session.
If you’re ready to try it for yourself, book studio time at BLNK Studios and keep it simple.

Subscribe to get insights and updates.
Stay Ahead of the Curve: Subscribe to Our Newsletter for Exclusive Insights and Updates!
contact@blnkstudios.com

118 S. Beach St, Upstairs, Daytona Beach FL 32114
386-320-6022
contact@blnkstudios.com
118 S. Beach St, Upstairs, Daytona Beach FL 32114
386-320-6022
contact@blnkstudios.com
118 S. Beach St, Upstairs, Daytona Beach FL 32114
386-320-6022
Exploring the creative spectrum