Quick Start Guide: How to Use Flash with Natural Light


Blending flash with natural light can take your outdoor portraits from flat to fire — without making them look overly lit. In this guide, we break down gear, settings, white balance, and real-life examples of how strobes can complement (not compete with) the sun. Spoiler: you don’t need to own the gear — we rent it.

Why Mix Flash with Natural Light?
Most of us started with natural light — it’s free, it’s beautiful, and it’s everywhere. But what happens when your light isn’t doing enough?
Maybe it’s too flat. Or too harsh. Or maybe you just want more control.
Enter: strobes.
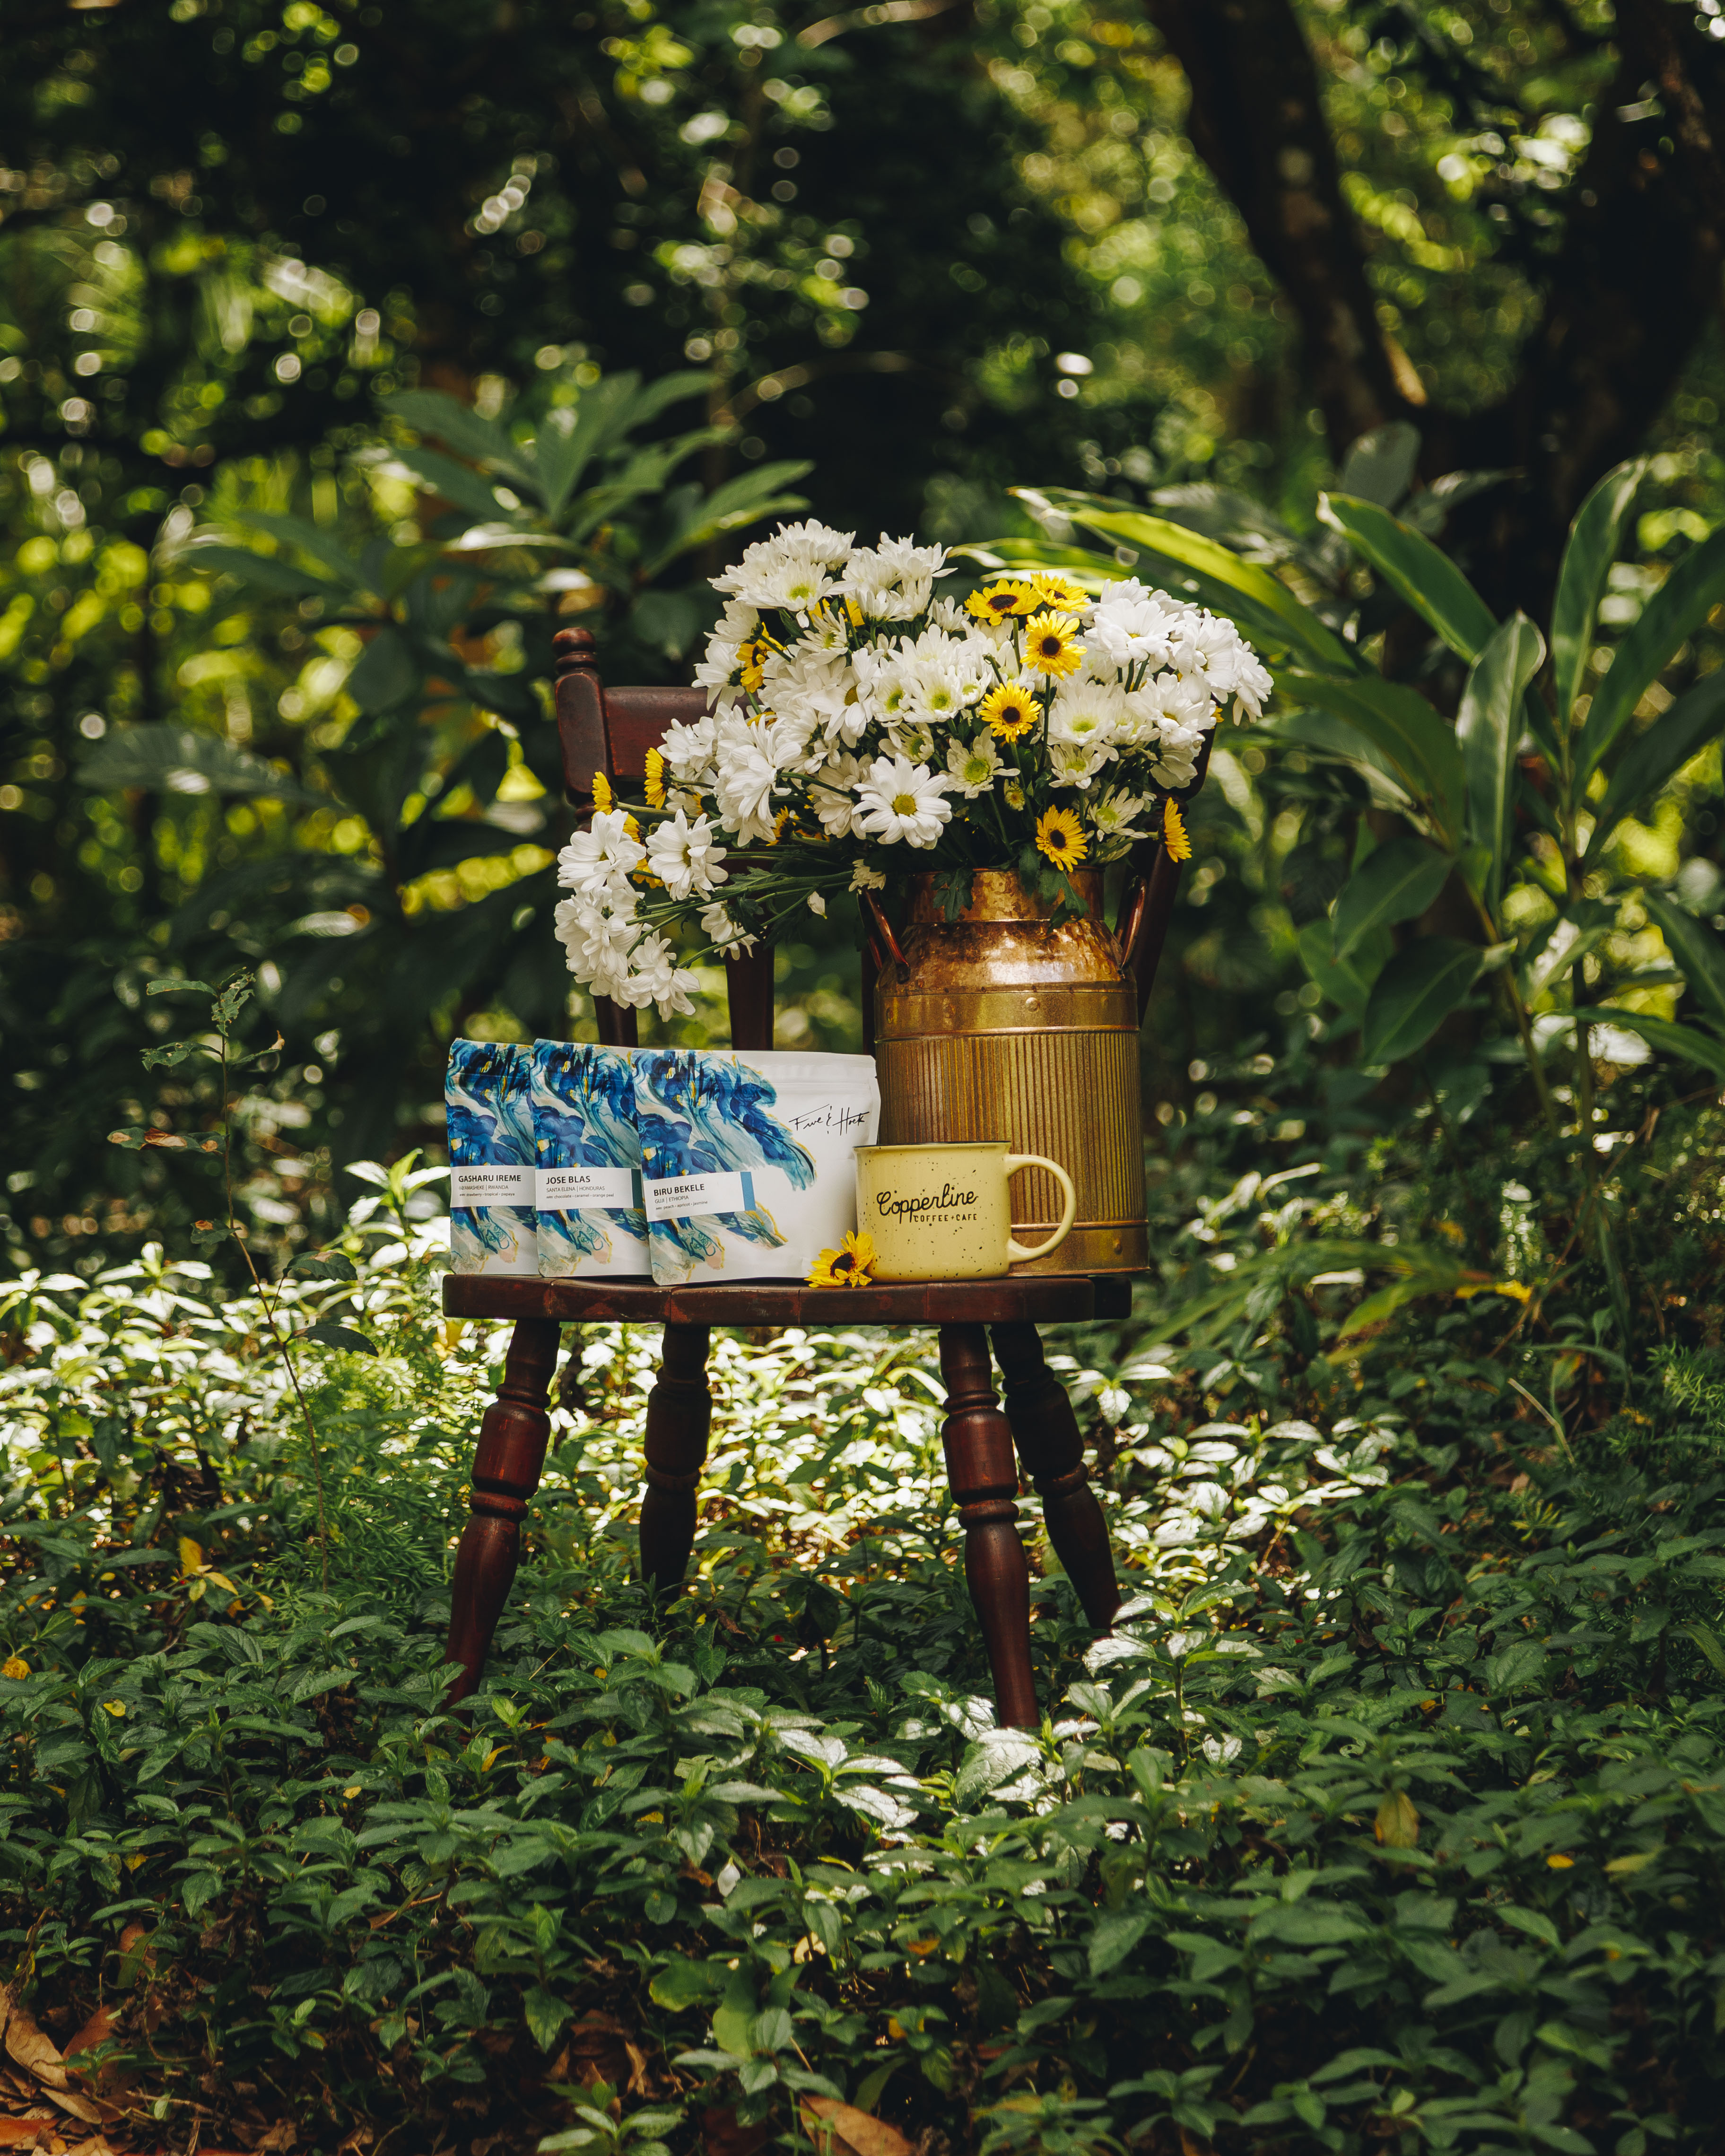
Using strobes on location — like we did with the Five and Hoek x Copperline photoshoot we share later in this post— can help add dimension, define features, and create subtle (but powerful) highlights on the subject, ultimately helping us draw the viewers' eyes to the part of the photo that matters the most. Photography is truly in the details, and why wouldn’t you want to take your photos a step above by utilizing some simple techniques and tools?
What’s the Difference Between a Flash and a Speedlight?
- Speedlight – A small flash that sits on top of your camera. Great for run-and-gun or event work.
- Strobe – A larger, more powerful off-camera flash that works with modifiers. Best for control and power.
- Flash – A general catch-all term that refers to both.
You might be asking, why would I want to use a strobe? They are heavy, need a lot of power and kind of expensive… But the answer is clear; more power, faster recycling, and the ability to shape your light using umbrellas, softboxes, reflectors — you name it. That modifier control is the real secret to natural-looking results.
🎒 Want to test it before you invest?
👉 Rent the Godox AD400 Pro at BLNK
How Do You Use Flash with Natural Light?
Let’s say you're shooting at the beach. The sun is technically out, but thick cloud cover is diffusing everything — leaving you with a scene that’s soft, but super flat. Not bad… just lacking depth. That’s where a strobe steps in. When used correctly, it won’t scream “flash!” — in fact, if it’s balanced well, most people won’t even notice it. Instead, it subtly adds dimension by shaping light around your subject, bringing back contrast and giving the image a more intentional, finished feel.That’s where a strobe comes in. By placing your light off to one side with a soft modifier, you can:
- Light your subject evenly
- Add catchlights to the eyes
- Maintain the ambient look without it being flat

What Shutter Speed to Use for Strobes?
Okay, so if you’ve made it this far I’m going to guess that your sold on taking strobes to your next photoshoot on location. Let’s get into the nitty gritty details and answer the burning question, HOW?!
Here’s the basic setup:
- Shutter speed controls your background (ambient light).
- Aperture + ISO control the flash exposure on your subject.
Most cameras sync at 1/160 or 1/200. If you’re shooting faster than that, make sure your strobe supports High-Speed Sync (HSS) (our Godox AD400 Pro units do this!!).
📸 Try starting with:
- Shutter: 1/160–1/200
- Aperture: f/5.6-f/8
- ISO: 100–200
These are just starting points, from here we start the shaping!
💡 Need a deeper breakdown of the basics of working with Strobes?
How Do You Balance Flash with Daylight?
You might be ready to sprint outside with your camera, strobe, and model in tow — but hold up for just a sec. Before you start firing off shots, let’s talk about how to actually balance your flash with daylight. We’ve got it broken down into 4 simple steps to help you nail your exposure every time.
🌤️ Expose for the ambient light first
Before you even turn on your strobe, dial in your exposure for the background. Whether it’s the sky, the trees, or the ocean — decide what mood you want. Bright and airy? Underexposed and moody? Lock that in with shutter speed, ISO, and aperture.
Once the background looks good, turn on your flash and adjust the power until your subject is properly lit. This is what people mean when they say “balance flash with daylight.” You’re not just blasting light — you’re matching it.
☀️ But what if it’s really bright and you still want shallow depth of field?
Let’s say it’s mid-day, no clouds, and you’re trying to shoot at f/2.8. Even with your shutter maxed out, everything might still be blown out. Here’s the trick:
Use a Neutral Density (ND) filter.
An ND filter cuts the light hitting your sensor, letting you shoot at wider apertures without overexposing the shot. Think of it like sunglasses for your lens.
You’ll still need to crank up your strobe power to match — but that’s the beauty of using something like the AD400 Pro. Plenty of output to work with.
Here’s our go-to 4-step process:
- Set your ambient exposure (shutter, ISO, aperture) with flash OFF.
- Slightly underexpose the background for more contrast. I'm talking like 1/2 of stop at most.
- Turn your flash ON and adjust its power to match.
- Use modifiers to soften shadows and create clean, flattering light.
Take your time, especially if this is your first time balancing lights, it can be a rather difficult concept to rush through but with trial and error you'll figure it out!
How Do You Set White Balance When Using Flash?
Flash is typically daylight-balanced — around 5500K — which means it’s designed to match the color temperature of direct midday sun. Sounds great, right? And it is... unless your environment is telling a different story.
Let’s say you’re shooting in open shade, under trees, beside a building, or on a cloudy day. That ambient light tends to be cooler, often dipping down to 5000K or lower. If your flash is still pushing out cool daylight tones, your subject might suddenly look too orange or yellow compared to the background.
Now flip the scene: golden hour hits, and everything is bathing in that soft, dreamy amber light. If your flash isn’t adjusted to match, it can create a jarring contrast between your subject and the scene — a cool-toned face in a warm-toned world.
🎯 How to Fix It:
Option 1: Adjust White Balance in-camera
Use Kelvin mode to dial in a custom color temp that splits the difference, or manually match the ambient light. This is probably the worst of the three options for a couple of reasons, it isn’t a one-click-fix-all solution, and you might still have mismatched tones in your photo from subject to background.
Option 2: Use Gels on Your Flash
A simple CTO (Color Temperature Orange) gel can warm up your flash output to better match golden hour or indoor tungsten. Gels are our best friend, and should be yours too! We use them in studio portraits all the time to add warmth to a secondary strobe—think hair lights. They are also great on location to help you match the tone of the sun, or add warmth to an overall cool in tone subject.
Option 3: Shoot RAW and fix it in post
Always a safe bet. RAW files give you full control over white balance during editing — especially helpful if the light changes mid-shoot. A good rule of thumb is to just always shoot in RAW. It gives you the most flexibility in post production.
Bottom line: matching your flash to your environment isn’t just technical — it’s creative. It keeps your colors cohesive and your image looking intentional, not accidental.
Tips:
- Use your camera’s Flash or Kelvin mode (5200–6000K)
- Use a grey card for consistent color across edits
- Shoot RAW so you can adjust later with no stress
If your flash and ambient don’t match, use gels or post-processing to align color temperatures.
Final Thoughts: Light Is the One Thing You Can Control
Natural light is beautiful — but not always predictable. When you add strobes into the mix, you gain control over your subject, your background, and the final look of the image.
Whether you're doing brand photos, portraits, or product work — flash doesn’t have to feel flashy. It just has to be intentional.
Frequently Asked Questions
Can you use flash outdoors during the day?
Yes! That’s actually when flash is most helpful, especially to fill in shadows or overpower bright sunlight. Just make sure your strobe supports High-Speed Sync if you need faster shutter speeds
What is High-Speed Sync (HSS) and when do I need it?
High-Speed Sync allows your flash to fire at shutter speeds faster than your camera’s normal sync limit (usually 1/200). You’ll want it if you’re shooting wide open (f/1.8, f/2.8) in bright light.
Do I need a light meter to shoot with strobes?
Nope. They're great if you're doing high-volume studio work, but for outdoor portraits or lifestyle sessions, the back of your camera, histogram, and a little trial and error will do the trick.
Can I use just one light and still get professional results?
Absolutely. A single strobe with a soft modifier (like an umbrella or softbox) is enough to transform your photos. Many of the examples in this post used just one light. More on this in our guide on taking pictures in the studio.
Is a flash the same as a strobe or speedlight?
Kind of. “Flash” is a catch-all term. A speedlight is a small on-camera flash. A strobe is more powerful and used off-camera with modifiers. Both can work with natural light, but strobes offer more control.

Subscribe to get insights and updates.
Stay Ahead of the Curve: Subscribe to Our Newsletter for Exclusive Insights and Updates!
contact@blnkstudios.com

118 S. Beach St, Upstairs, Daytona Beach FL 32114
386-320-6022
contact@blnkstudios.com
118 S. Beach St, Upstairs, Daytona Beach FL 32114
386-320-6022
contact@blnkstudios.com
118 S. Beach St, Upstairs, Daytona Beach FL 32114
386-320-6022
Exploring the creative spectrum