
How to Take Pictures in the Studio: A Beginner Friendly Guide


If you've never shot in a studio before, there's a good chance you're either overthinking it or a little intimidated by it.
Both are completely normal. And both are worth addressing before you walk through the door.
Studio photography for beginners doesn't have to be complicated. The photographers who get good results fastest are usually the ones who keep it the simplest. This guide is going to walk you through how to actually take pictures in the studio. From how to think about the space, to light modifiers, to the one mistake that quietly ruins more photos than almost anything else.
Let's get into it.
Quick takeaway: Studio photography is not harder than outdoor photography. It’s just more intentional.
The Studio Is a Blank Canvas, and That's the Whole Point
If you're used to shooting sunrise beach sessions or golden hour portraits, the studio can feel a little empty at first.
That's actually the point.
Outside, the environment does a lot of the work for you. You've got natural light, texture, color, movement happening all around you. In the studio, you start with nothing. And that's exactly what makes it so good.
I heard this once from a professor: "The studio demands your creativity." That line has stuck with me longer than just about anything else I learned throughout my years studying photography.
When you walk into a studio and it feels bare, that's not a problem. That's an invitation. You build everything. The light, the mood, the story. It's all yours to create.
If you've ever thought studio photography sounds boring, that assumption is usually the first thing that disappears after a single session.
The studio demands your creativity. That's what makes it so special.
What We See Most First-Timers Struggle With (And It's Not What You Think)
When someone walks into BLNK for the first time, one of two things is usually happening.
Either they don't know what the light attachments do, or they don't have a clear picture of what they're actually trying to create. Sometimes someone will say "I just want a big, bright, nice light" and I totally get it as a starting point, but it needs a little translating before it becomes a usable setup.
That's not a knock on anyone. It's genuinely just where most beginners start.
The good news is, once you understand a few basics, especially around light modifiers, things click fast.
Light Modifiers: The Thing Most Beginners Skip (And Really Shouldn't)
This is probably the single biggest upgrade a first-time studio shooter can make, and it costs nothing extra if the studio already has them.
A bare strobe with no attachment produces a very harsh, very direct light. It can work in specific situations, but for most portraits and general studio work it tends to look flat, unflattering, and a little jarring.
A softbox changes that completely.
What a softbox does is diffuse and spread the light before it hits your subject. The result is softer shadows, more even skin tones, and a quality of light that just looks more intentional. I've seen a simple softbox take a photo yearsss ahead of where it was. It's one of those changes that's hard to unsee once you notice it.
In our studio, we see photographers skip the softbox all the time. Either they're not sure how to attach it or they don't realize how much it matters. It matters a lot.
A quick breakdown of common light modifiers:
Softbox
Diffused, directional light. Great for portraits and most general shooting. The most beginner-friendly modifier to start with.
Umbrella
Broader, bouncier light. Good for wider setups or when you want light to fill more of the space. They can be either shoot through, or with a gold or silver reflective material on the side.
Beauty Dish
Punchy, slightly contrasty light with a distinct look. Popular for high fashion and close up beauty work. Think makeup artist portfolios.
Bare Bulb / No Modifier
Hard, very direct light. Can be used but always needs to be intentional, otherwise, it can look like you have no idea what you're doing.
Snoot
Used to create a directional shape, super popular today when trying to create that sharp circle background you see online a lot. Requires a lot of power from the strobes and attention to detail to not look overly harsh.
If you're not sure which modifier to use, just ask. That's genuinely what studio staff are there for.
You Don't Need the Best Camera. You Just Need One That Syncs.
This one comes up all the time.
People convince themselves they need the newest, most expensive camera body before they can shoot seriously in a studio. That's really not how it works, and in studio photography it's so far from the truth.
The strobes are doing most of the heavy lifting when it comes to sharpness and exposure. A good camera for studio work really just needs to focus reliably, produce a sharp image, and sync properly with your strobes.
That last one matters more than people expect. Some cameras, especially older entry-level bodies, can have sync issues that create banding or inconsistent exposures. It's worth knowing how your camera handles sync before your shoot, not during it. Canon T6, I'm looking at you.
What your camera does not need: the highest megapixel count, the best low-light performance, or the fastest burst rate. None of that matters much when you're controlling the light yourself. We use a 10+ year old DSLR every single week in the studio and honestly, no one can tell.
If you're unsure about your gear, call ahead and browse what is available at BLNK. It's a quick conversation that can save a lot of frustration on shoot day.
Start With One Light. Seriously, Just One.
If there's one piece of practical advice to take from this entire guide, it's this.
Start with one light.
Not two. Not a full three-point setup. One light, positioned well, with the right modifier attached.
Most beginners try to build too much too fast. They want the final result before they've taken a single test shot. What usually happens is they change multiple things at once, something looks off, and now they have no idea what caused it.
One light gives you a clear starting point. You can see exactly what it's doing, make one adjustment at a time, and actually understand why the photo is changing. That's how you learn fast.
When I walk into the studio, one light is almost always where I start, even on more complex setups. Get that first light right before you add anything else.
A simple starting position:
Place your key light at roughly a 45-degree angle from your subject. This mimics the way the sun looks at its most flattering, directional with some shape and dimension to it. It's not a rule you're locked into forever, but it's a strong baseline that works across a wide range of setups.
One thing to avoid early on: placing two lights directly in front of your subject on either side of the camera. That tends to flatten the image, create awkward double shadows, and produce a look that feels harsh for no real reason. Please just do me a favor and avoid that one.
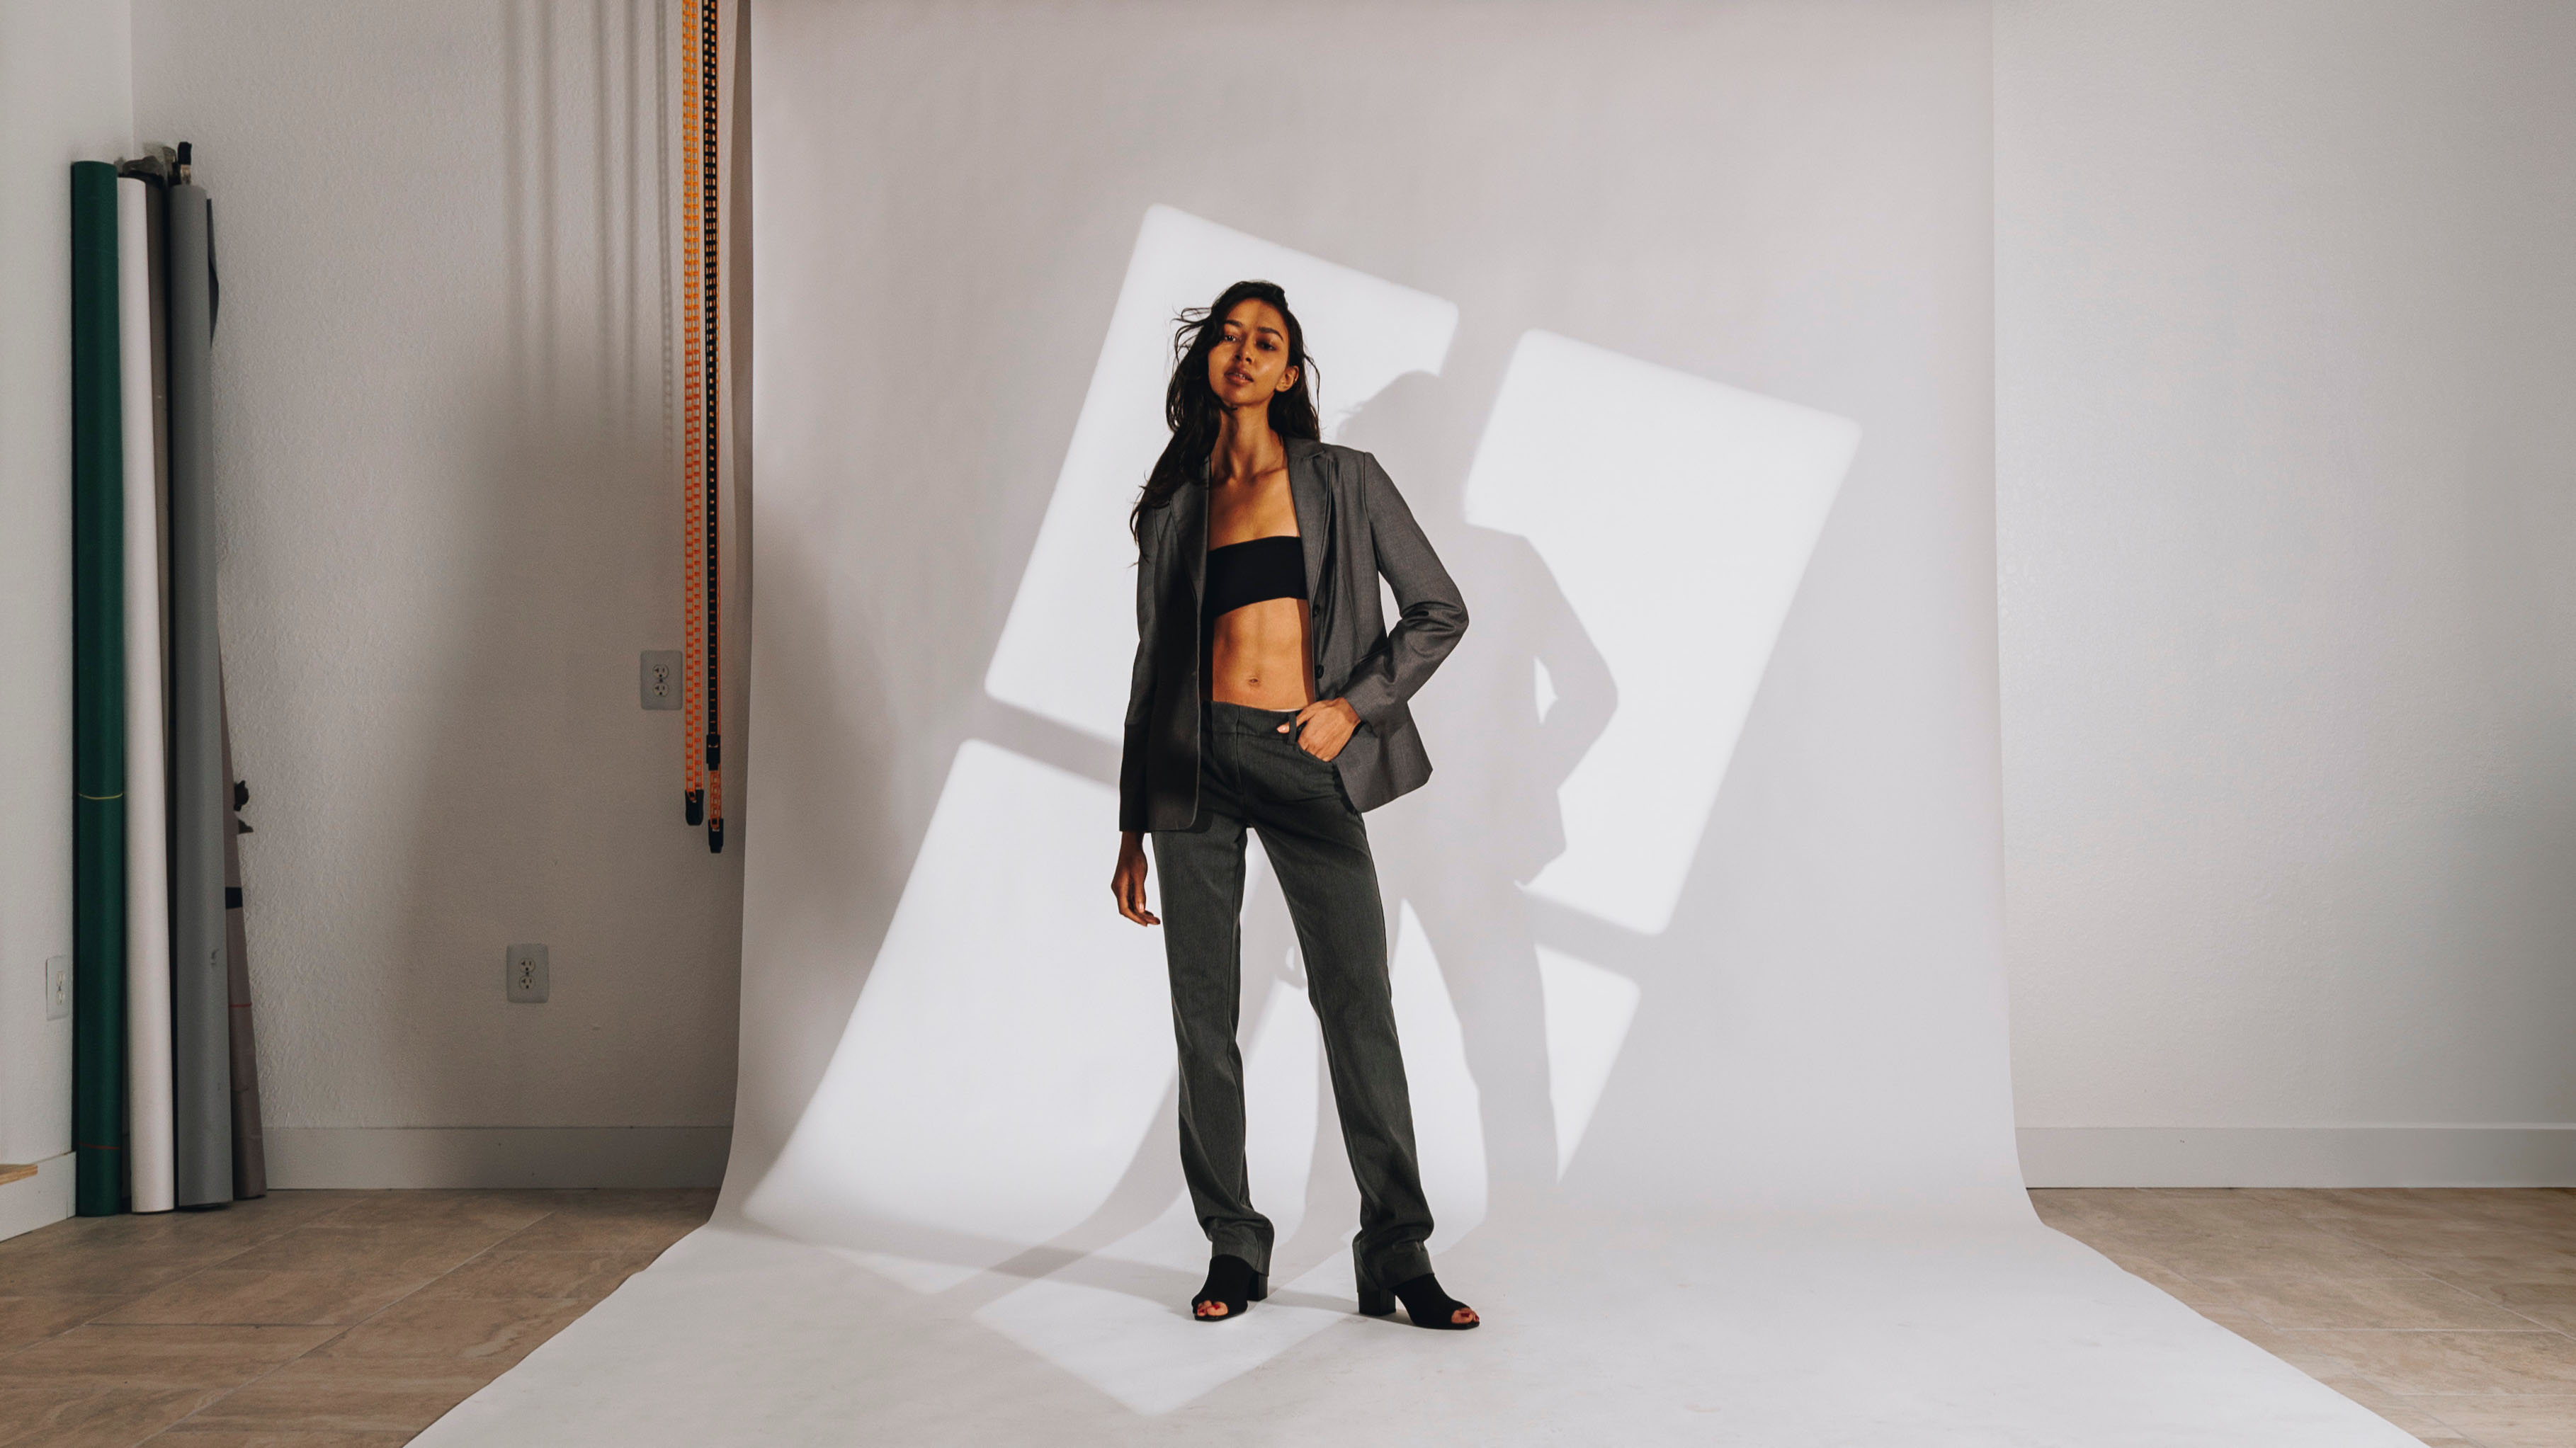
Put Your Subject Further From the Background Than Feels Natural
This one is quiet, but it makes a big difference.
Most first-time renters place their subject too close to the background. It feels natural, the backdrop is right there, so you shoot against it. But what it does to the image is not great.
When your subject is too close to the background, you lose depth and separation. The image looks flat. You also start picking up background shadows that are hard to control.
Somewhere around 5 to 7 feet between your subject and the backdrop tends to give you clean separation without making the setup feel awkward. It's not a magic number, but it's a useful place to start.
Try it once on purpose and look at the difference. It'll stick with you. It might be the single most important trick that you should know when stepping foot in a studio the first time.
If Something Looks Off, It's Your Job to Fix It
This is one of the bigger mindset shifts that comes with studio photography, especially if you're coming from location or natural light work.
Outside, you adapt to what the environment gives you. In the studio, if something looks off, there's no environment to blame. The light is wrong. The composition is off. The setup needs adjusting. And it's on you to figure out what and fix it.
That's not a criticism. It's actually one of the things that makes studio photography so valuable as a skill. It teaches you to look at a frame critically and ask what is actually causing this problem, instead of just bumping your settings and hoping for the best.
Fix the setup before you touch the settings. Move the light. Adjust the distance. Change the modifier. Then look again.
And once your setup is working and you're ready to go deeper on the technical side, our camera settings for studio photography guide covers shutter speed, aperture, ISO, and white balance in full. That's the natural next step.

What a Good First Studio Session Actually Looks Like
Here's an honest answer to this, because a lot of beginners set unrealistic expectations and leave disappointed when the session was actually a success.
A good first studio session is not a perfect shoot.
It's a shoot where you walk out with something you're genuinely excited to edit. A frame, maybe a few, that shows you what's possible when the light is right and the setup is working. Something that opens a door.
That's it.
Studio photography has a way of doing that. For photographers who've been shooting only location work, it can make the whole craft feel exciting again. It gives you a different set of problems to solve, a different kind of creativity to tap into, and it can honestly open a box that makes photography so much more fun again.
You won't nail everything on the first try. Nobody does. What matters is walking out with something that makes you want to come back and try it again.
A Simple Workflow to Follow Your First Time In
When you're just getting started, having a loose process helps. Here's what tends to work:
- Pick your background
- Place your subject with some room between them and the backdrop (5 to 7 feet is a solid starting point)
- Attach a softbox to your key light
- Position the light at roughly 45 degrees from your subject
- Take a test shot
- Evaluate the light first, not the settings
- Adjust one thing at a time
- Make your subject comfortable. Play music. Keep the energy relaxed.
- Add more lights or modifiers only if the shot genuinely needs it
Keep it simple. Some of the best studio photos come from one light, a comfortable subject, good direction, and a photographer who knows how to create the right vibe in the room.

Final Thoughts
Learning how to take pictures in the studio really comes down to a few things: understanding your light, using the right modifiers, keeping your setup simple, and being willing to fix what's not working.
You don't need the most expensive gear. You don't need to know everything before you start. You just need to walk in, keep it simple, and be patient with the process.
When you're ready to get into the technical side, read our guide on camera settings for studio photography. It's the natural next step once your setup is dialed in.
And if you're ready to get in the space and try it for yourself, book studio time at BLNK and start with one light.

Subscribe to get insights and updates.
Stay Ahead of the Curve: Subscribe to Our Newsletter for Exclusive Insights and Updates!
contact@blnkstudios.com

118 S. Beach St, Upstairs, Daytona Beach FL 32114
386-320-6022
contact@blnkstudios.com
118 S. Beach St, Upstairs, Daytona Beach FL 32114
386-320-6022
contact@blnkstudios.com
118 S. Beach St, Upstairs, Daytona Beach FL 32114
386-320-6022
Exploring the creative spectrum


